Navigation bar


Wednesday, July 9, 2014

Red man hands

Bought some worbla for the fingers so it's gonna be fun playing with this materials for the first time. I see a a lot of tutorials in my future. Bought it HERE


First cut out the shapes for the fingers in craft foam so they'd have a thickness to them.Than taped them to my fingers to test how they'd fit. Actually looks pretty damn good. And I have a decent amount of mobility in my fingers so that's a plus.


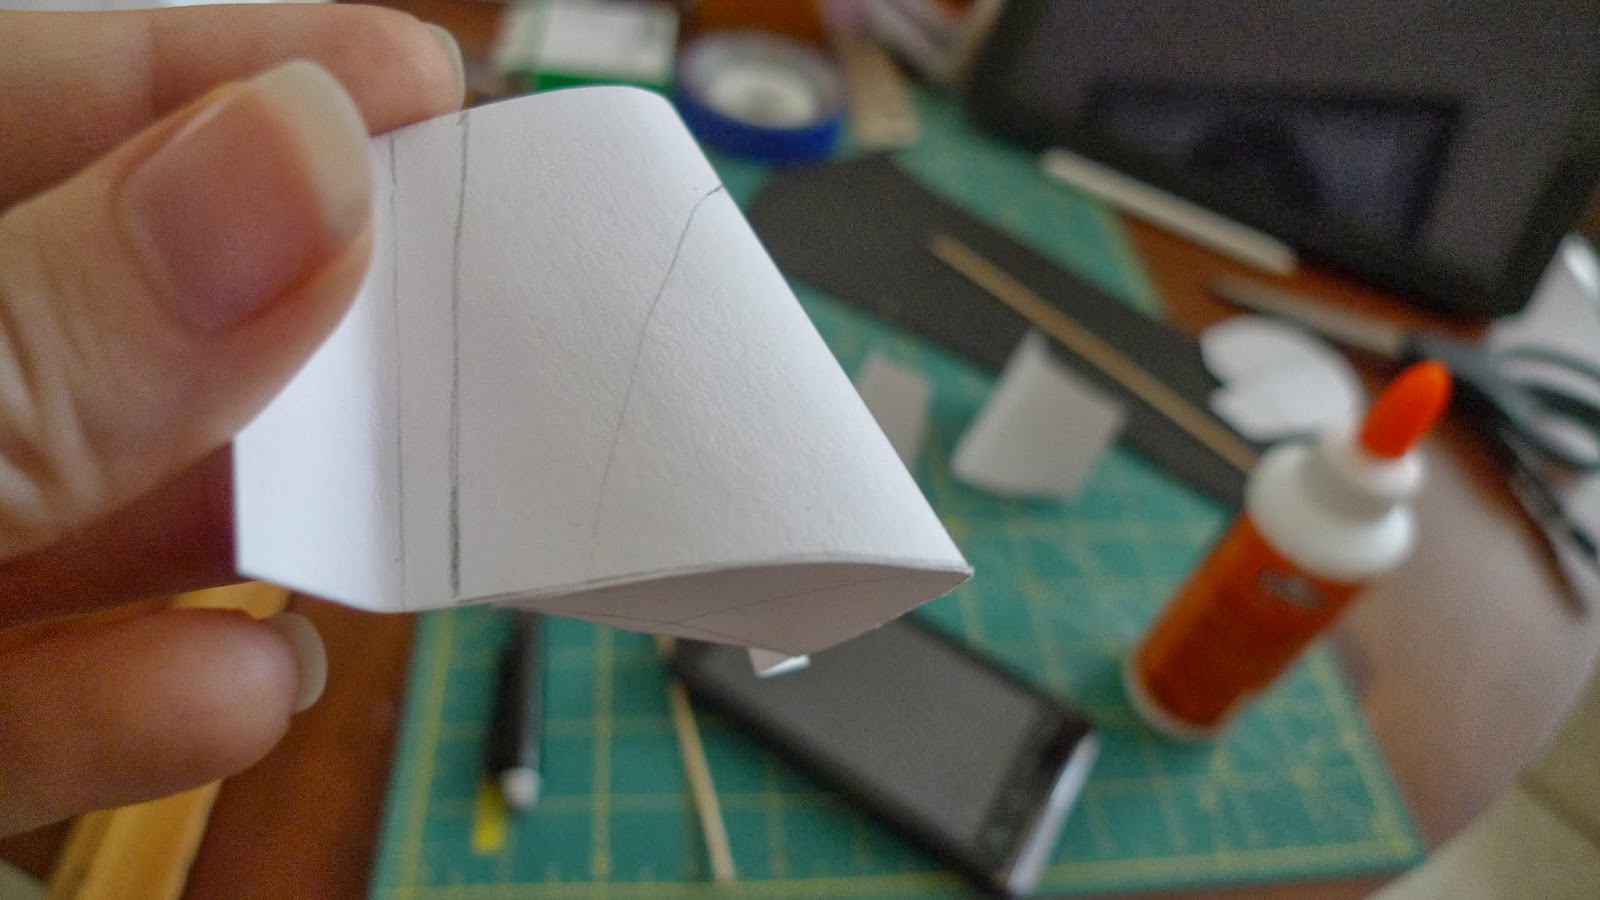
I laid out all of the templates of foam onto the rough side of the worbla and traced around them. Than gave about a quarter inch of space around it so I could fold it over the sides of the foam.


All cut out and ready for the heat gun!


Tuesday, July 8, 2014

Went to Supercon 2014 and was commissioned to make a Madara Uchiha costume

These are facebook links but you can view the albums whether you have a facebook or not. I also go in depth about my mistakes/what I did with the commission in the description boxes next to the pictures. The reason I'm not putting the commission in a post here is I want people to be able to find it so having it in one place is easier. I'll also post a link to it in the sidebar.

Supercon 2014 pictures

Madara Uchiha commission
 
I havn't been posting as much as I want to because I had a last minute commission to work on. My friend wanted a costume for supercon 2014. Went something like this:

Friend: Hey, can you make me a Madara Uchiha costume for supercon?

Me: sure, when is it? (I'm thinking its at least a couple months away)

Friend: Something like near the end of next month.

Me: So about 4-5 weeks away? (its already the middle of the month)

Friend: Yeah. I'll pay you of course.

Me: . . . Challenge accepted.

I was stupid to accept it in the first place because it was so last minute but I wanted a challenge to see if I had the guts to manage everything and hopefully get it done in time like the professional cosplayers. They can get a whole costume done in two weeks why not 4-5. Lets just say I learned a lot from this commission about time management and what works best when working with materials.

Tuesday, May 20, 2014

Redman body pieces


Using L200 foam for the bodice so I can easily shape it the way I want it and so I don't have to worry about a pattern being shown like with the EVA foam. L200 foam is specifically used for special fx artists so its a great find. It was a bit hard finding the stuff but I eventually found it here for a decent price and size.

So I made my template than traced and cut it out from the foam.


I than traced all the detail pieces on the foam so I would know where to place stuff. Using craft foam I cut out the leather looking straps and glued two of them together so they would be long enough in the back. 


Finally got a move on working on the bodice. I first glued the 3 strips of craft foam on the L200 with contact cement. It was a large area to cover so I used a black foam paintbrush.


I bought some cheap plastic rings at a fabric store and looped a piece of cut out PETG plastic. Than heated it and wrapped it around the ring. 


I than cut a slit into the foam and used super glue to glue the plastic into the slit. 

Like so.
I also bought some cheap black plastic chain and cut those in half to make it look like they were going through the bodice. Than I used a soldering pen to melt holes into the foam for the chain.


I first tested what glue would hold plastic and foam together so I wouldn't run into any problems in the future. I ended up just using superglue. Hot glue didn't work, contact cement didn't work so I tried super glue. bam.


I actually almost forgot about the rings around the links on the leather straps. Important details can really make stuff pop. 


So after I burned holes back into the foam I super glued the links in. All done! Well except for the straps but still pretty close. Let me just have my moment. T^T


Even looks good wrapped around.


Now for the straps! I first made a cardboard template so I could make guesstimates on how thick the straps would need to be, how tall the box-like buckles would be and how shallow the buckles would need to be to go into the foam. I'm still not sure what to do for the strap themselves. Possibly glue two pieces of L200 together. Who knows.


Traced the cardboard pattern onto some scrap sintra and cut out the pieces with a box cutter.


I first started sanding down the sides with some sandpaper to give the glue some grip.


Super glue

The back pieces glued to the top
After gluing all the pieces together and sanding down all the extra edges as smooth as possible I added some spot putty to fill in any gaps.


Wednesday, April 16, 2014

Ear mold for helmet

 Because the ear pieces on red mans' helmet are such a unique shape I'm making a clay mold than vacuum forming the pieces. I had never actually made a mold before so this was a new experience entirely. And the only experience I had working with clay was from high school and middle school.

The materials I'm using are freezer paper for my workspace so I don't make a mess, basic clay sculpting tools (there really old actually), Paper clay and a spray bottle filled with water.

I start my making the center of the ear using a circular solid piece of clay. Once I had that nice and rounded I rolled out a flat piece piece of clay with a rolling pin and cut it out with one of my sculpting tools. I than laid it around the center piece and adjusted it so it fit snugly around it.

The clay that I used for this mold was paper clay. I read around that it worked well for costuming because it was cheap, user friendly, air dried (but you can also bake it), once dried can be sanded down and for any reason can add on wet clay to your already dried clay. It can also be found relatively easy in craft stores and online.


Since I used such thick pieces when I made the mold the clay would take months to air dry so I followed directions online to stick it in the oven at 250 degrees for 30 min. Unfortunately it took about 2 hrs in the oven to bake (even than you can tell through the bottom its still damp). That doesn't matter though since its gonna be vacuum formed anyway. I start sanding away at it to get a nice even and perfect shape. Since you can add wet clay to it I used it to fill in little imperfections than repeatedly sanded down. Rinse and repeat until satisfied with shape.

The paper clay is really easy to sand down so I only used a very fine grain of sandpaper. Any rougher would take huge chunks out of the clay.

Starting to take shape.

Added wet clay for imperfections.

 Got the mold nice and smooth for vacuum forming. I'm also really happy with how it came out. There are imperfections which I may fix later on but it looks really good for a first time working with paper clay.

Once I get more imperfections out I may cast and sell molds. Depends on the demand, which may not be a whole lot.

Will update later with pictures of the detailing and most likely the final product.


Saturday, March 1, 2014

Redman Helmet

I have been working on my stuff so I'm not dead from exhaustion (Not yet anyway ). Its mainly paper templates right now, just because I need to plan things out. So here's a bunch of pictures!

I first went scouring the internet for a *Pepakura file that would resemble the helmet because I have no 3D modeling skills whats-so-ever. So I found a Kamen Rider helmet file that matched the rounded shape to Redmans. The file can be found HERE. I modified the hell out of it and only made the top portion of it since I didn't need the mouth or chin pieces.

*Pepakura- A program that lets you create and share 3D paper models. Similar to origami.


Printed it out (didn't modify the size), cut it, glued it.

All put together.


Modified it, cut it in half, and made a nose hole


Made the templates for the nose, only two pieces.

Bottom part of the nose.

4 different nose prototypes.


Left to right; Final design, Curved, Straight slant and slightly rounded with sharp crease.


Final design

marked where it fits just right on the helmet.


The helmet was a bit too big so I cut a bit out from the middle than glued it back together to get a feel for how it would fit.

Nose glued in! Not yet completely done modifying it but I got a lot done.

The first step to making my helmet mold was to cut down the center where I glued it originally since I plan on vacuum forming each half and it's going to need to be in two separate pieces anyway.

Cut down the middle
I actually found a cheaper and easier way of hardening the paper through THIS tutorial. Since I just needed to harden the paper for support to lay the clay on I found it much easier. Following the tutorial I first reinforced my pep by adding additional cardstock inside of it.

All I did was cut out strips of cardstock than glue them in on the inside of the helmet.

All done and reinforced.

After that the tutorial than says to use CA glue (also known as super glue) and spread the glue with your fingers around the card stock in sections. Obviously using gloves when doing so. I actually went through several pairs of gloves doing this, the glue ate away at them but they're also pretty cheap too. I recommend the brand of super glue pictured below as it was the same used in the tutorial. Also when you spread around super glue its going to dry faster as you thin it out, so its going to take a couple of coats for the glue to really reinforce the paper.

*Big warning when working with super glue (especially in large quantities) work outside in the open air and also wear a respirator. The fumes will start to permeate in the air, it can stain almost anything (even brick patio) and can/will cause eye/nose/throat irritation.Trust me, this stuff has stung my eyes and nose more times than I can count just from the fumes.


After 2 coats on the inside and outside of the helmets the paper was hard as a rock. The paper will also have a nice sheen to it much like when using fiberglass resin. It was hard to get a picture of how it looked after so I don't have any but you'll be able to tell.

Now to add some bondo!

After doing some research into this stuff I acquired some bondo from Amazon but you can get at walmart, hardware/automotive stores. Here it is. And of course you can get it in different amounts if you don't just want the 14 ounce can. All I did was follow the directions as to how much hardener to add to the actual bondo. Once you've mixed in the hardener to the bondo you should have a slight pinkish hue like in the picture. Once it's mixed in you'll only have a couple of minutes to work with it so I smoothed the bondo out as much as I could on the helmet. You want it as smooth as possible so you don't have a ton of bondo to sand down later. Very poor results so it looks like I'll have a lot of sanding to do. yay.

I'll add in a step by step picture guide on how to mix it/what it is/ sanding it later when I'm putting the second coat on.


Here comes the tedious part. sanding. This is when patience counts. Since I have a long time to work on this I'm gonna take my time so updates will be slow on this part of the costume.