I have been working on my stuff so I'm not dead from exhaustion (Not yet anyway ). Its mainly paper templates right now, just because I need to plan things out. So here's a bunch of pictures!
I first went scouring the internet for a *Pepakura file that would resemble the helmet because I have no 3D modeling skills whats-so-ever. So I found a Kamen Rider helmet file that matched the rounded shape to Redmans. The file can be found
HERE. I modified the hell out of it and only made the top portion of it since I didn't need the mouth or chin pieces.
*Pepakura- A program that lets you create and share 3D paper models. Similar to origami.
 |
| Printed it out (didn't modify the size), cut it, glued it. |
 |
| All put together. |
 |
| Modified it, cut it in half, and made a nose hole |
 |
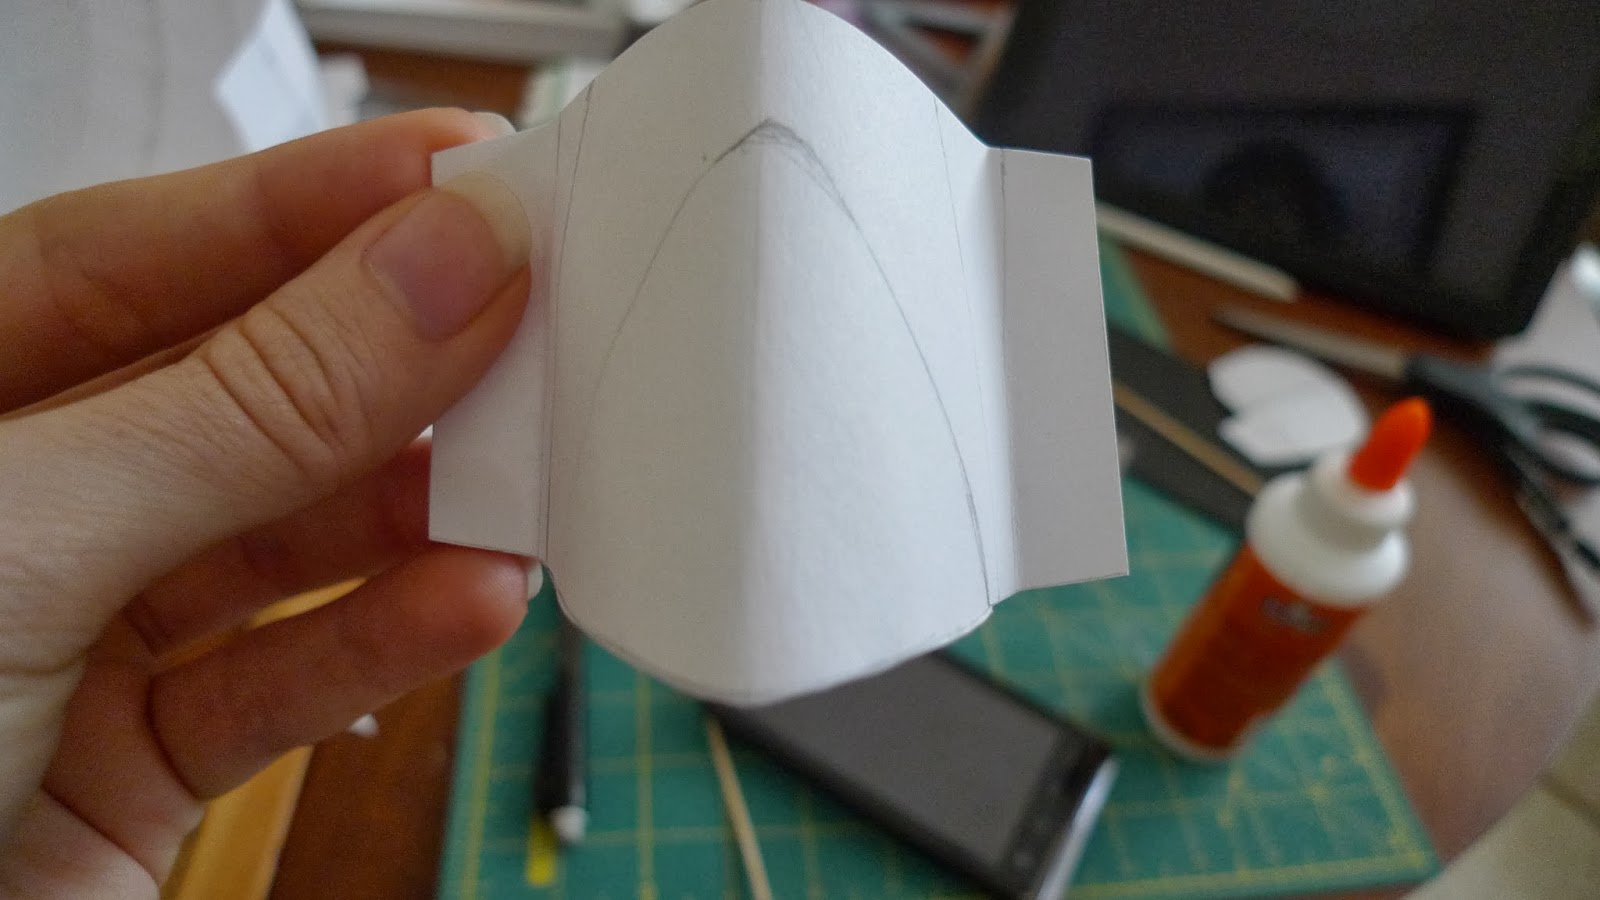
| Made the templates for the nose, only two pieces. |
 |
| Bottom part of the nose. |
 |
| 4 different nose prototypes. |
|
|
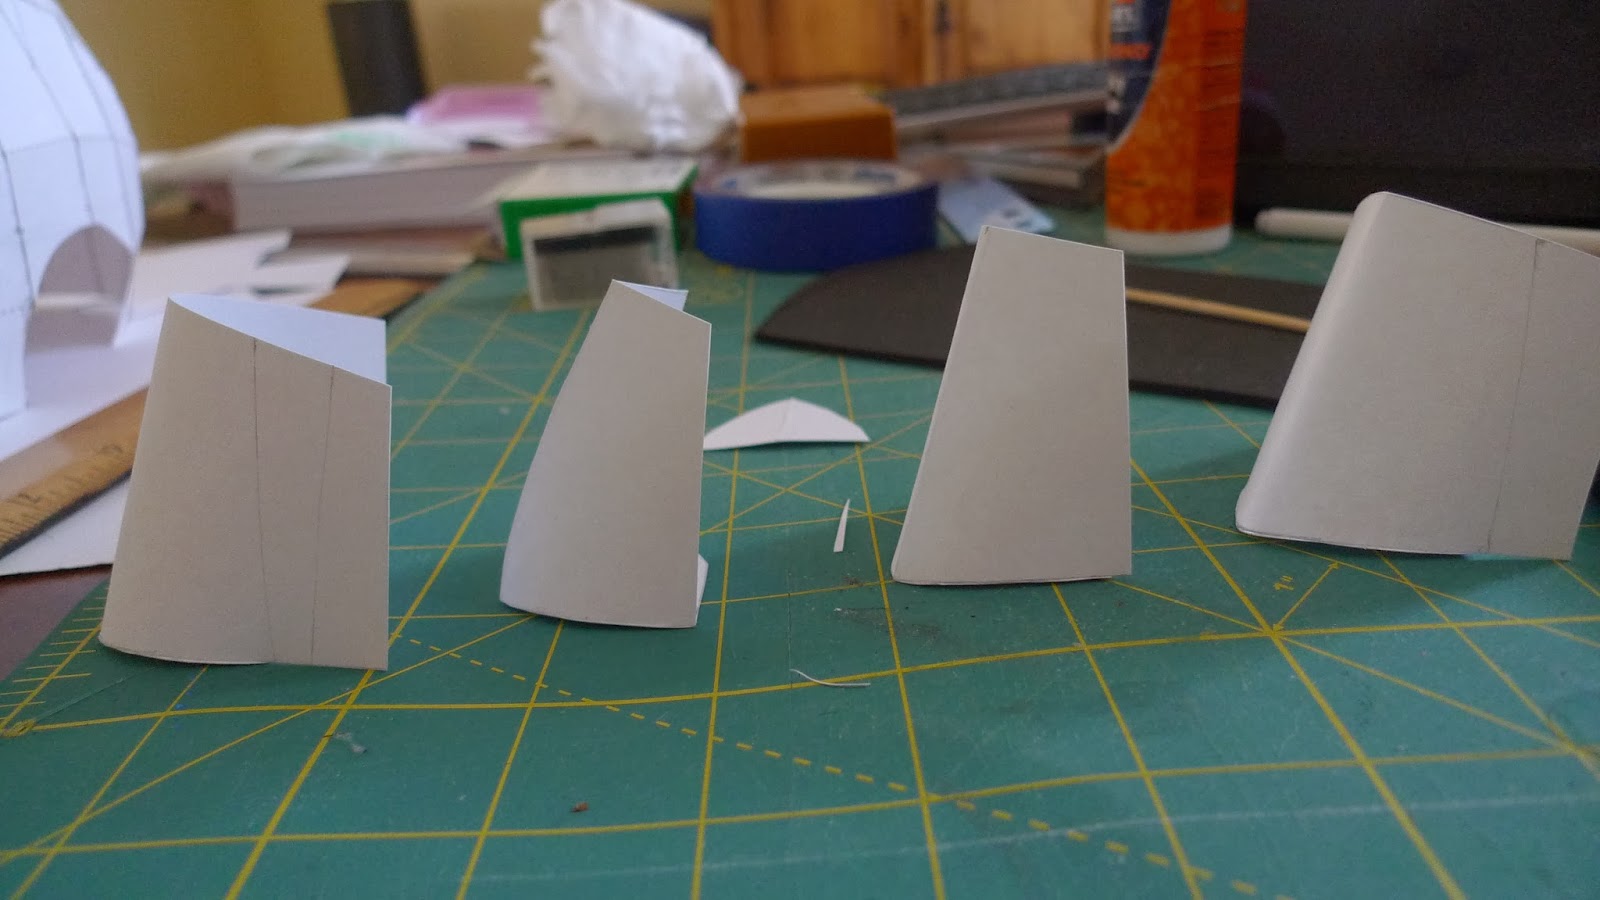 |
| Left to right; Final design, Curved, Straight slant and slightly rounded with sharp crease. |
 |
| Final design |
 |
| marked where it fits just right on the helmet. |
 |
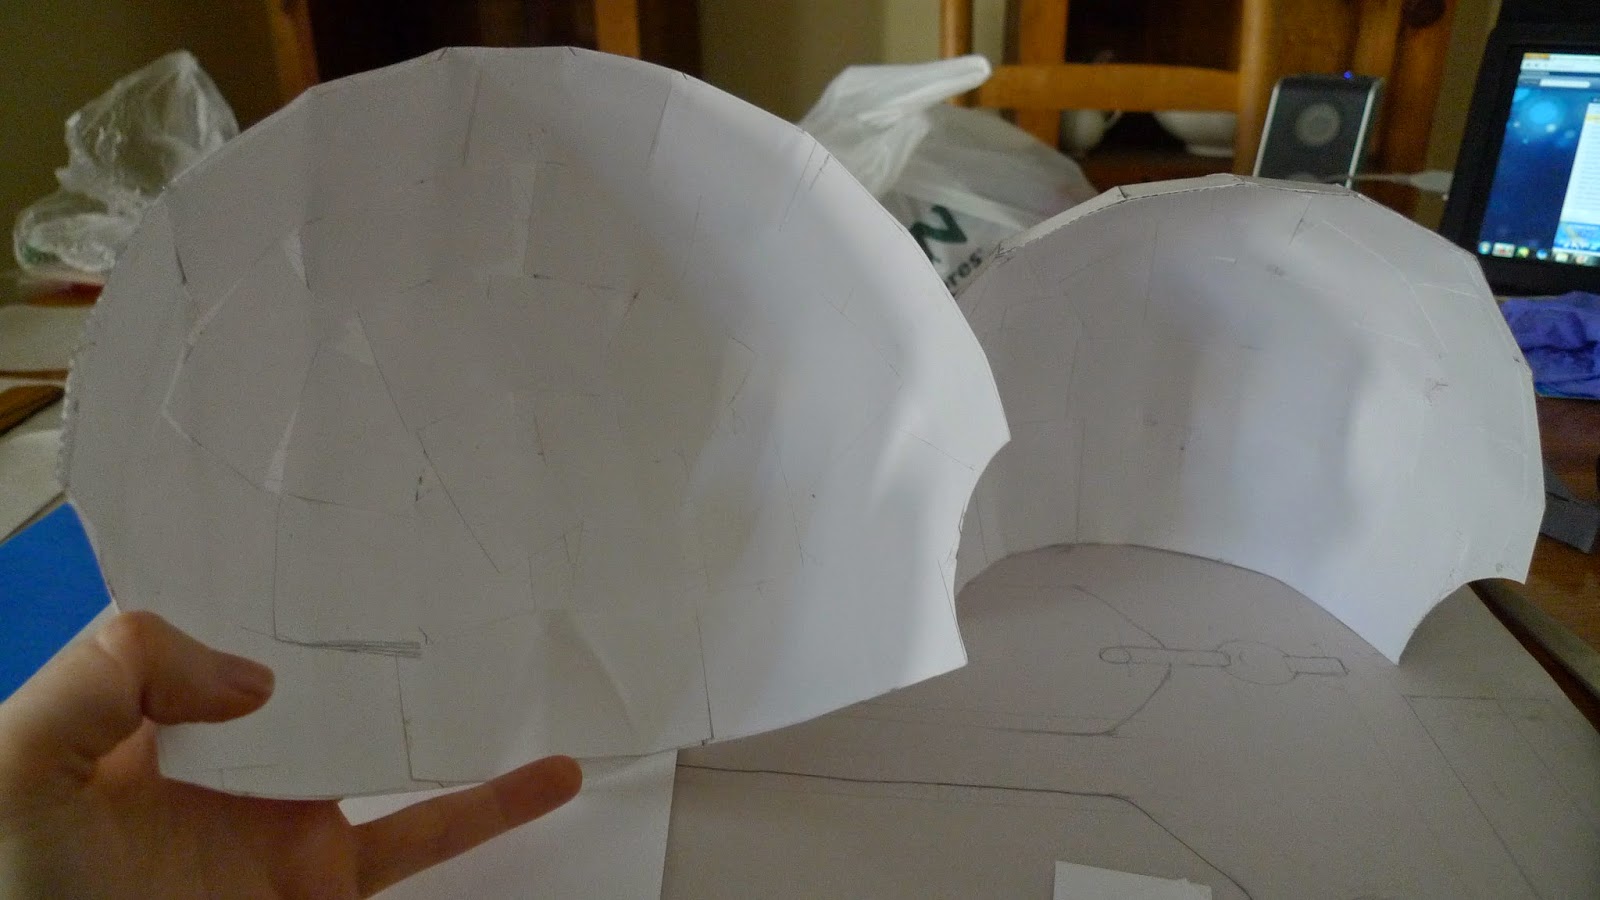
| The helmet was a bit too big so I cut a bit out from the middle than glued it back together to get a feel for how it would fit. |
 |
| Nose glued in! Not yet completely done modifying it but I got a lot done. |
The first step to making my helmet mold was to cut down the center where I glued it originally since I plan on vacuum forming each half and it's going to need to be in two separate pieces anyway.
 |
| Cut down the middle |
I actually found a cheaper and easier way of hardening the paper through
THIS tutorial. Since I just needed to harden the paper for support to lay the clay on I found it much easier. Following the tutorial I first reinforced my pep by adding additional cardstock inside of it.
 |
| All I did was cut out strips of cardstock than glue them in on the inside of the helmet. |
 |
| All done and reinforced. |
After that the tutorial than says to use CA glue (also known as super glue) and spread the glue with your fingers around the card stock in sections. Obviously using gloves when doing so. I actually went through several pairs of gloves doing this, the glue ate away at them but they're also pretty cheap too. I recommend the brand of super glue pictured below as it was the same used in the tutorial. Also when you spread around super glue its going to dry faster as you thin it out, so its going to take a couple of coats for the glue to really reinforce the paper.
*Big warning when working with super glue (especially in large quantities) work outside in the open air and also wear a respirator. The fumes will start to permeate in the air, it can stain almost anything (even brick patio) and can/will cause eye/nose/throat irritation.Trust me, this stuff has stung my eyes and nose more times than I can count just from the fumes.
After 2 coats on the inside and outside of the helmets the paper was hard as a rock. The paper will also have a nice sheen to it much like when using fiberglass resin. It was hard to get a picture of how it looked after so I don't have any but you'll be able to tell.
Now to add some bondo!
After doing some research into this stuff I acquired some bondo from Amazon but you can get at walmart, hardware/automotive stores.
Here it is. And of course you can get it in different amounts if you don't just want the 14 ounce can. All I did was follow the directions as to how much hardener to add to the actual bondo. Once you've mixed in the hardener to the bondo you should have a slight pinkish hue like in the picture. Once it's mixed in you'll only have a couple of minutes to work with it so I smoothed the bondo out as much as I could on the helmet. You want it as smooth as possible so you don't have a ton of bondo to sand down later. Very poor results so it looks like I'll have a lot of sanding to do. yay.
I'll add in a step by step picture guide on how to mix it/what it is/ sanding it later when I'm putting the second coat on.
Here comes the tedious part. sanding. This is when patience counts. Since I have a long time to work on this I'm gonna take my time so updates will be slow on this part of the costume.


